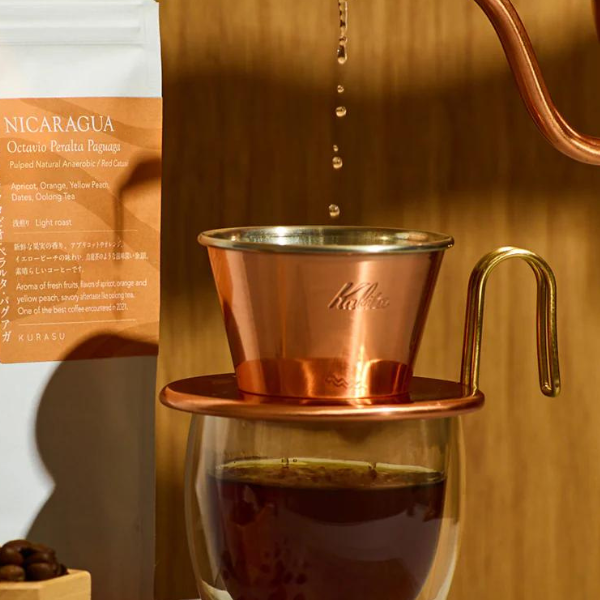
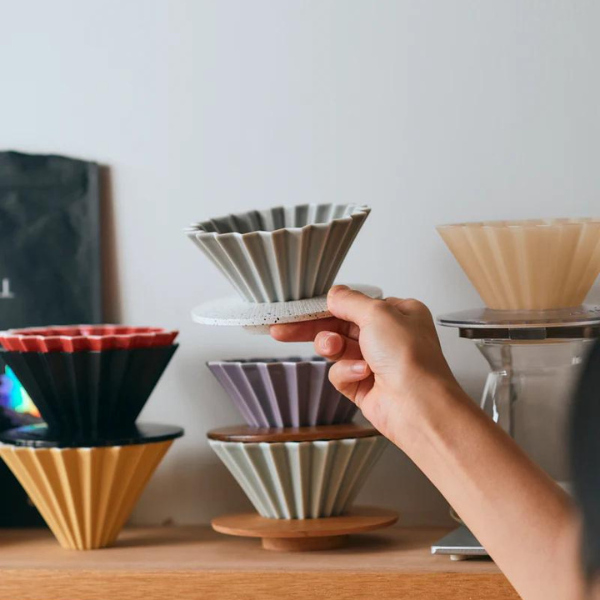
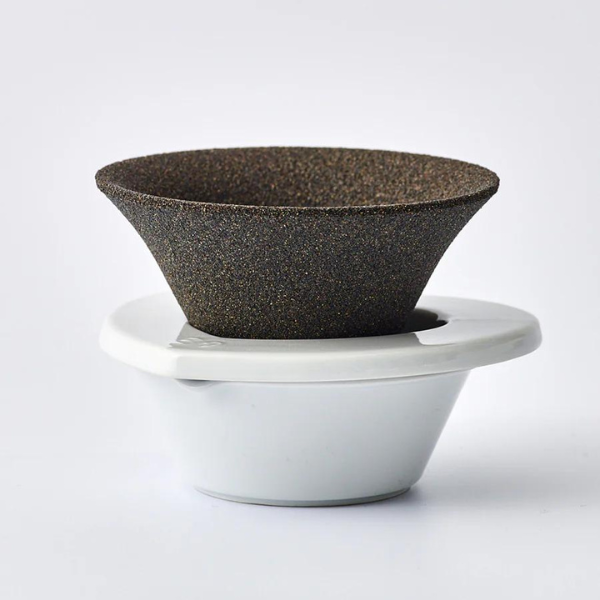
We are happy to share our newest Kurasu recipe featuring the Kalita Wave Dripper.
The strength of the Kalita Wave Dripper is that they provide consistency and stability during the coffee extraction process. In our experience, this dripper can maintain extraction consistency the same way every time, no matter who brews the coffee.
Kalita Wave Dripper in our collection:
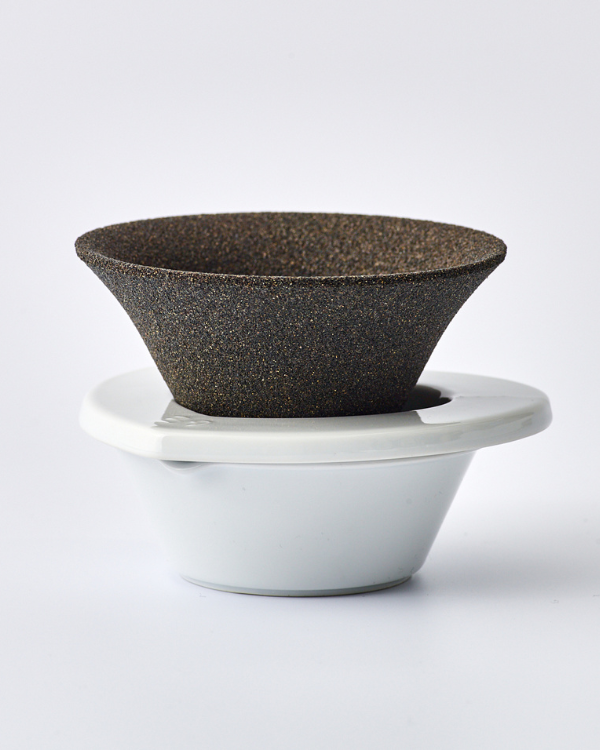
Kalita Sagan (Sandstone) 155/185 Dripper
Kalita Stainless Steel 155/185 Dripper
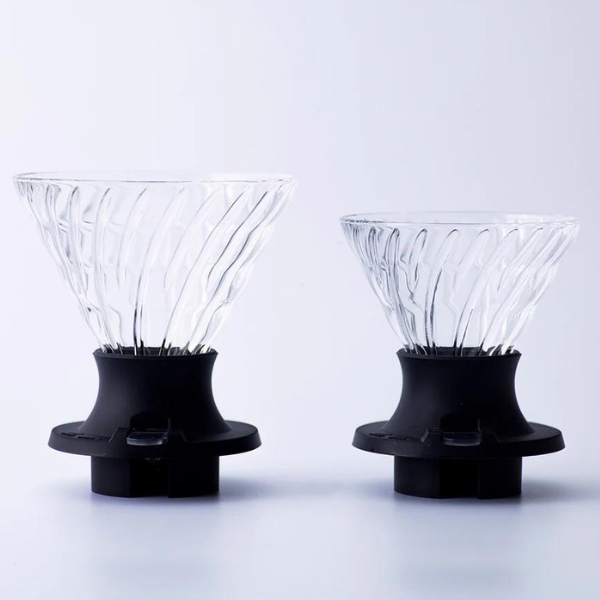
Kalita Glass 155/185 Dripper - Black
What you need:
- Light roast coffee (feat. Guatemala Mauricio Rosales)
- Kalita wave dripper 155
- Kalita wave paper filter 155
- Server
- Scale
- Kettle
Recipe:

- Coffee: 14g
- Grind size: Coarse
- Hot water: 200g (92℃)
Now, based on the features of the Kalita Wave explained in the previous chapter, we have devised a recipe with the key point of how to brew a coffee with clear flavors, acidity, and sweetness without clouding the taste of the coffee!
Step by step:
- First pour: 0:00, +30g
- Second pour: 0:40, +30g (Total: 60g)
- Last pour: 1:10, +140g (Total: 200g)
- Finish brew time: Approx. 2:05 to 2:15
Tips:
- To rinse the Kalita wave paper filter without ruining its shape: after placing the paper filter inside the dripper, hold down the edge of the paper before starting to rinse from the center of the paper. Then proceed to rinse over the wave part.
- The two separate 30g of water on the first and second pour is so important, as they are responsible to bring out the flavor of the coffee.
- Second pour: pour the hot water aggressively over the coffee bed.

- Last pour:
- Pour the hot water into a single thin stream at the center of the coffee bed (Try balancing the input and output liquid stream).
- The hot water poured should not be up more than the coffee line that was made during the second pour (To prevent the hot water from puddling at the bottom of the dripper, which will result in some cloudiness of the flavors).


- To brew 2 cup portion: adjust the grind size to a coarser grind and simply double the amount of coffee and hot water in the recipe.
The main point of this recipe is the change in pouring style between the second and third pour. We hope that you had a great time experimenting with this recipe!
For a more detailed explanation and a more to see the brewing in action, check out our youtube video below.

